


Are your tiles outdated and worn, and are you tired of your bathroom floor being so cold? We present the three methods available for replacing your old tiles.
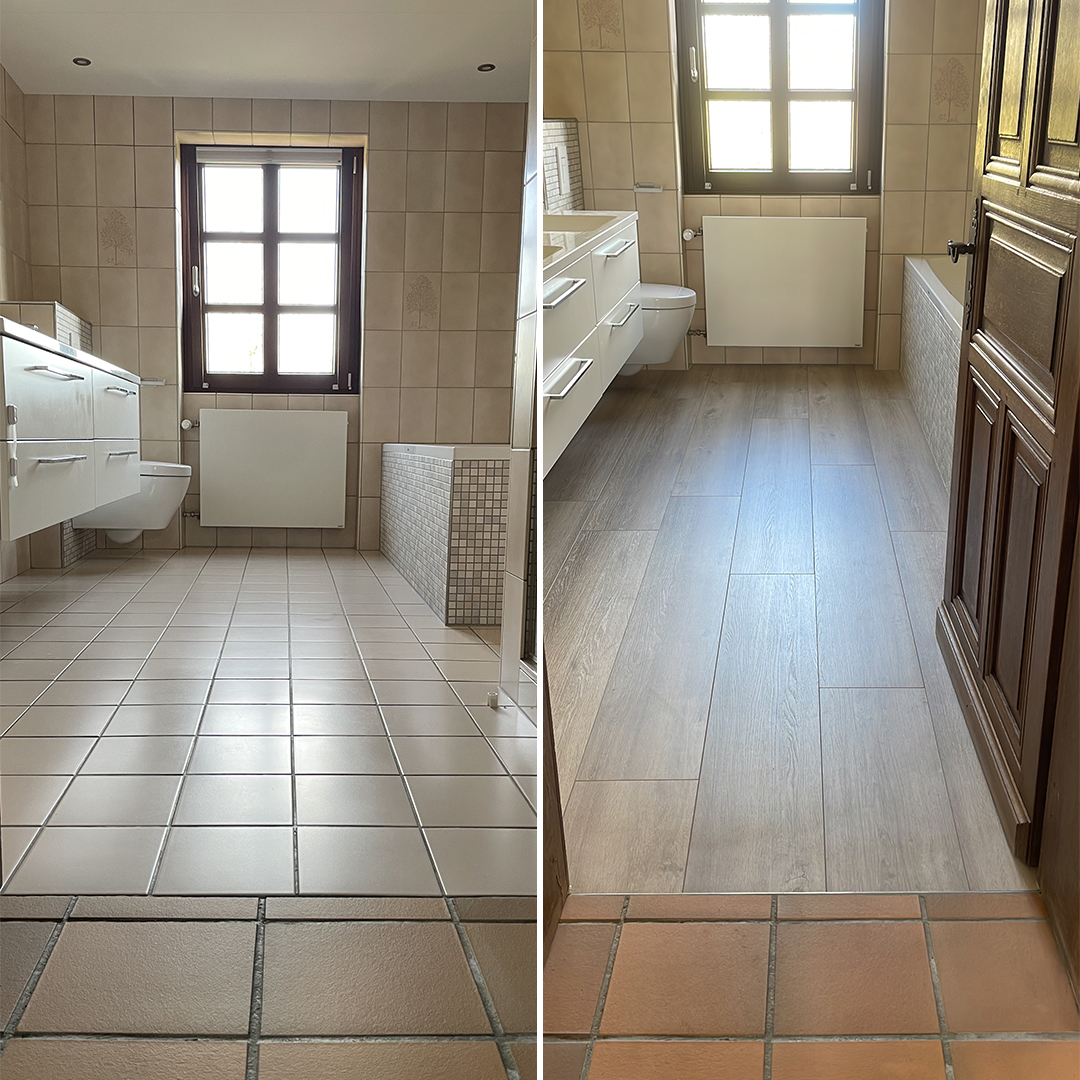
1 – Glued installation:
A floor covering +/- 2.5 mm thick is glued onto the tiles. Unlike the floating installation we discuss at the end of this article, this method cannot be reversed to get your tiles back. This option is only possible if the tiles are not hollow and there is no risk of them coming loose.
Before this new floor covering is glued down, some preparation work is required. It has a dual purpose: 1 – To cover the floor with a layer of self-levelling compound, which will flatten the floor and eliminate small bumps and imperfections in the tiles. 2 – To be able to lay the covering at the same level as the tiles in the adjoining room. To do this, part of the tiling (around 1 m²) at the doorways has to be removed.
As well as eliminating any difference in level at the doorways, this method has the advantage of avoiding major works, such as having to remove all the tiles in the room.
Here are a few photos showing the different stages on a project we completed recently.
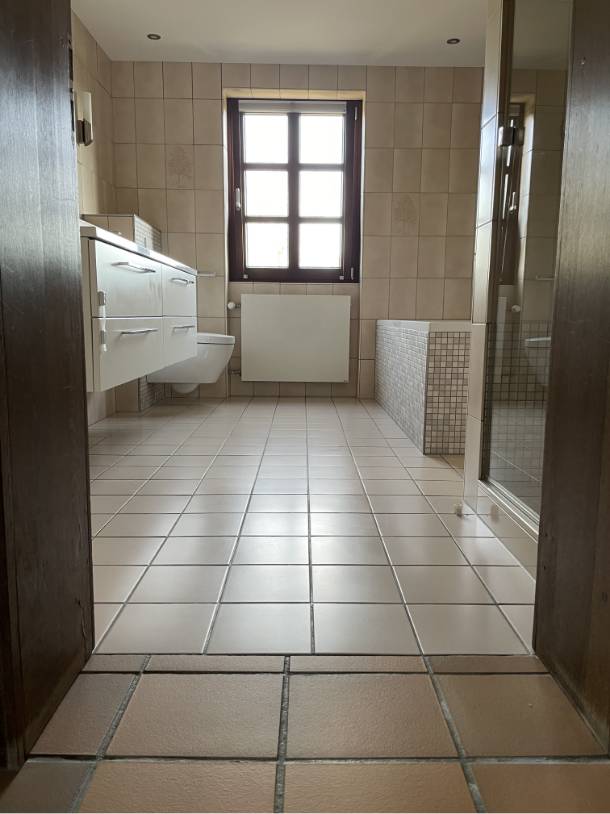
View of the room at the start of the work.
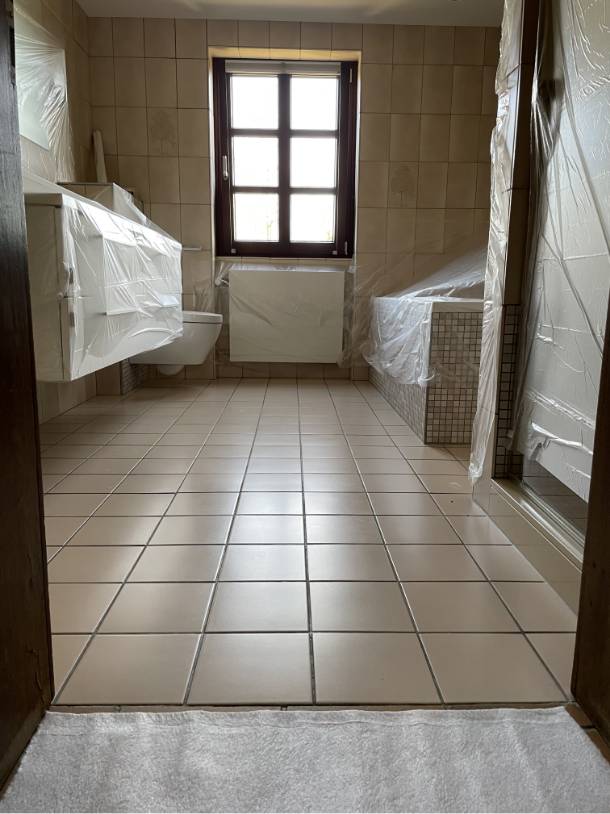
Step 1: protective coverings are put in place. Any furniture that could be moved has been moved.
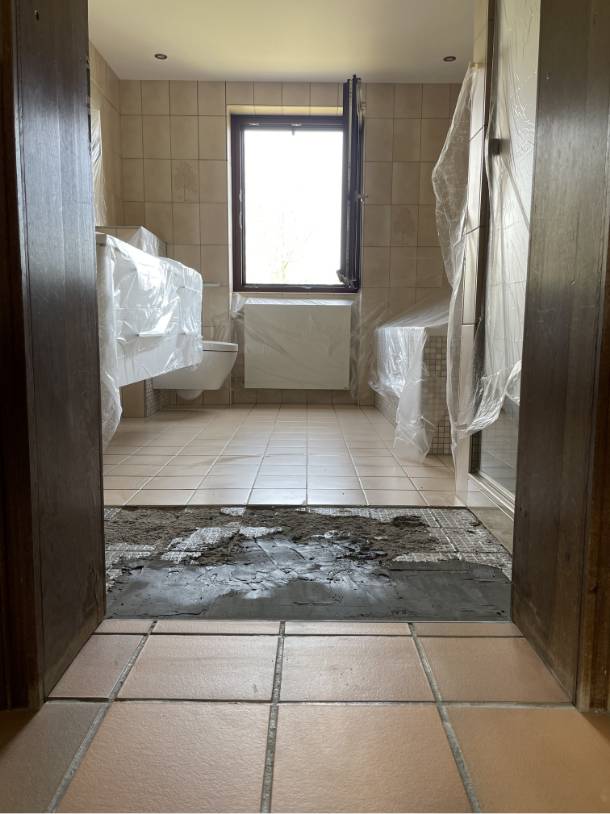
Removal of approximately 1 m² of tiles at the doorway.
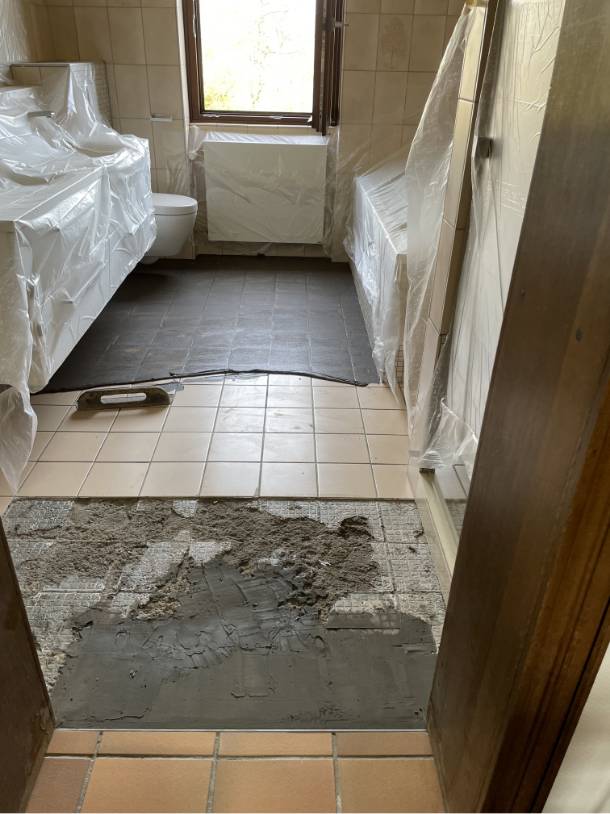
We carry out the pre-levelling. This involves filling the joints between the tiles before applying the levelling compound.
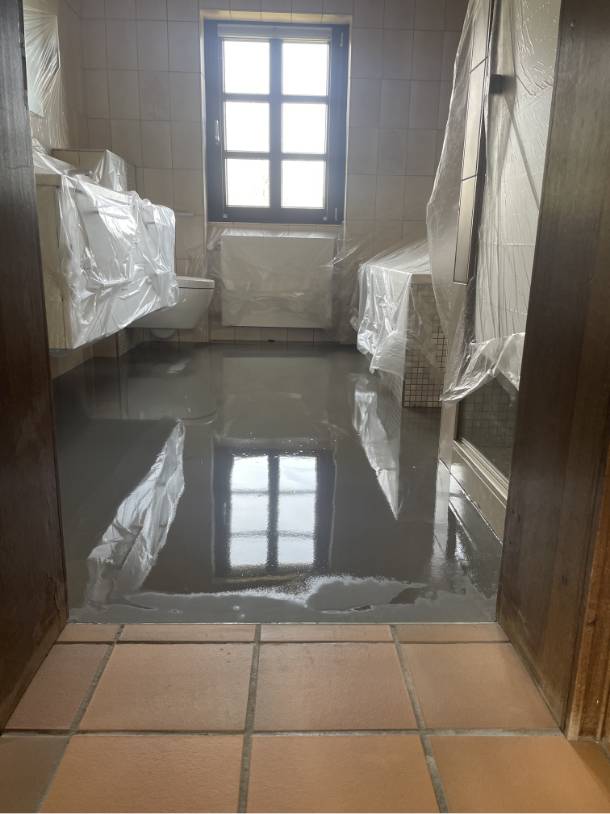
Next step: a layer of self-levelling compound is applied to even out the floor. A drying time of 12 hours is then needed before the floor covering can be laid.
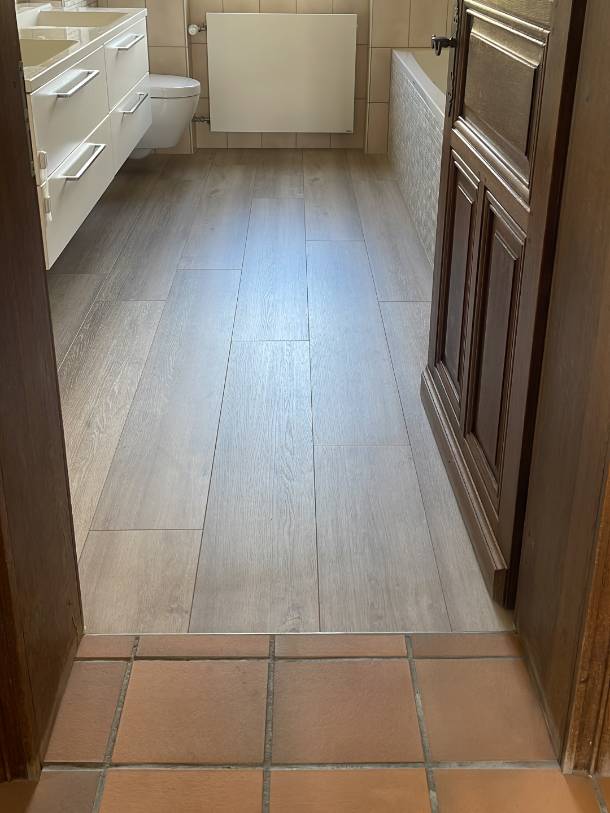
And that’s it – all done! Beautiful, isn’t it?
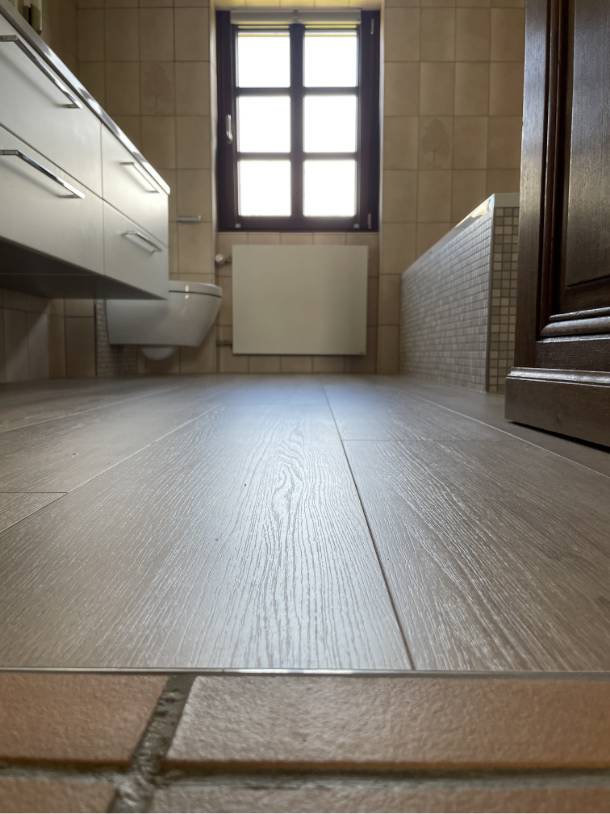
Note that there is no visible difference in level at the doorway.
With this type of work, the covering can be laid flush with the existing skirting boards. For aesthetic reasons, pieces of the new covering (+/- 2.5 mm thick) can be glued onto the existing tiled skirting boards, or these can be replaced with wooden skirting boards.
Which floor covering should you choose for glued installation?
The choice is wide: examples include linoleum, Purline organic flooring, vinyl and also rubber floors. This wide choice of materials goes hand in hand with a broad range of finishes, which can imitate tiles, stone or even wood.
2 – Removing the tiles:
There’s no real need to go into more detail about this method – the title says it all.
de Buedemleër takes care of everything. We protect anything that cannot be moved, move everything else (e.g. furniture), remove the tiles, repair the screed and lay the new parquet or any other floor covering chosen by the customer on top.
Of course, once all this is done, we put the furniture back in place and clear away all the site waste in accordance with the recycling guidelines specific to each product category.
This method makes it possible to lay any type of parquet and floor covering.
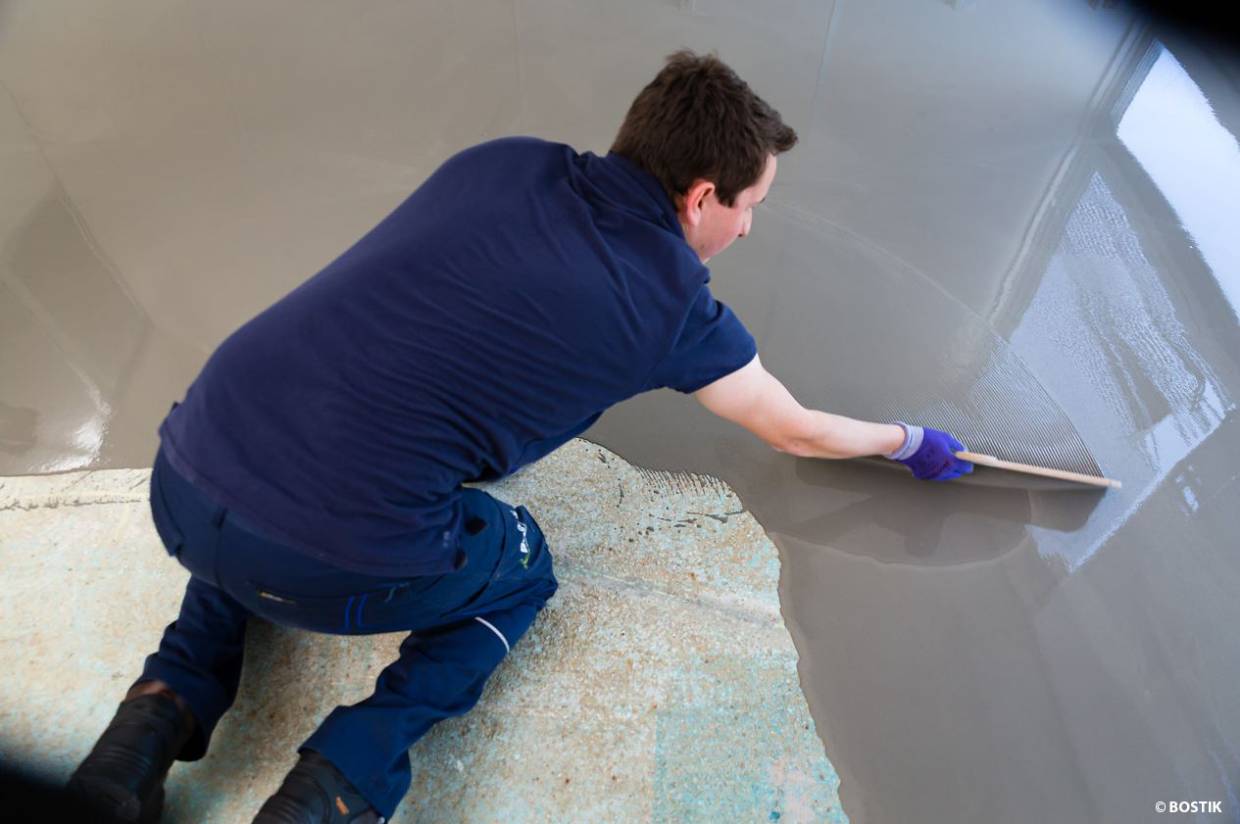
Application of self-levelling compound
3 – Floating installation over the tiles.
With floating installation, the new floor covering is simply laid on top of the old tiles; no levelling compound, adhesive or filler is applied to them.
Here are the main advantages and disadvantages of this method:

- It is the fastest and most economical installation technique;
- Furniture can stay in the room during installation (although it will of course need to be moved around);
- As no adhesive is used, the process can be reversed and your original tiles recovered.

- This installation raises the floor level by 1–2 centimetres, so a transition strip must be added between rooms and the doors planed down;
- If you choose parquet, there will necessarily be an expansion joint along the walls, in which case the skirting boards will very probably need to be replaced;
- Parquet laid directly on tiles sounds a little hollow.
Which floor covering should you choose for floating installation?
Many options are available to you: laminate flooring, Purline organic flooring, cork tiles, vinyl flooring, carpet tiles and even (within certain limits) repositionable tiles known as “Loose Lay”. For more information on the different types of floor covering suitable for floating installation, we suggest you visit our website or ask us for advice.
Do you have a project?